
You may already have seen our previous WordPress Litespeed post Improve WordPress Performance with LiteSpeed Web Server.
If you’ve not heard of Litespeed and you use WordPress, I’d strongly recommend you look into it. Litespeed can significantly improve both the page load times (we’ve see pages load ten times faster) and can help reduce the amount of RAM and CPU cores you need if you are on a cloud server.
Litespeed have compared their software to both Nginx and Apache in a recent benchmark test and it was found to be faster in both instances:


You’ll notice in the graphs above that Litespeed handles significantly more “transactions” per second. What is also worth noting is that Litespeed’s own cache plugin, is significantly faster than the popular WPRocket and W3TC. In this post, I’m going to explain how to install and configure Litespeed Cache for WordPress.
How to install and configure Litespeed Cache for WordPress
Log into WordPress
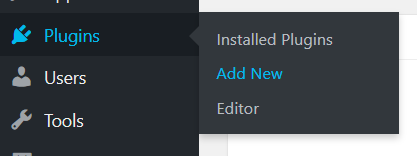
Hover over the “Plugins” item on the main menu and then click on the “Add New” link.
Search for Litespeed.
![]()
Install and activate LiteSpeed

Hover over the LiteSpeed link in the left hand admin menu
Click the Settings link

Ensure that the Enable LiteSpeed Cache option is set to Enabled (green button on Enable)

That’s it!
There are more advanced options that you can configure by following Part 2 of this guide
Did you know…
At Clook, one of our specialisms is providing WordPress optimised hosting, if you’d like to find out more, please get in touch with us.
Did you know…
At Clook, one of our specialisms is providing WordPress hosting, if you’d like to find out more, please get in touch with us.


