
Last week I discussed how to install WordPress, today I will be discussing how to install a WordPress plugin using the automatic plugin install method. You can review other methods here.
If you don’t know which plugins to install, you may find Jamie’s favourite free WordPress plugins an interesting read along with our how to improve WordPress speed and Setting up W3 Total Cache for WordPress blog posts.
Did you know…
At Clook, one of our specialisms is providing WordPress hosting, if you’d like to find out more, please get in touch with us.

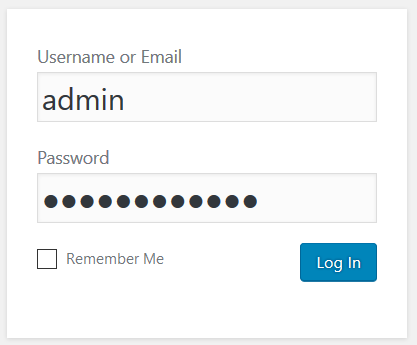
Login to your WordPress admin area
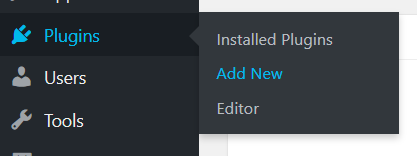
Hover over the “Plugins” item on the main menu and then click on the “Add New” link.
Use the search box, in the top right hand area of the page, to locate the plugin you’d like to install.

Click the “Install Now” button on the plugin you’d like to install

Click the “Activate” button to enable the plugin.

Your plugin is now installed and activated. Next week we will discuss how to keep your plugins and WordPress install up to date.


