
This guide is Part 2 of How to make your WordPress site faster using Litespeed, ensure you have completed those steps before continuing.
Now that you have Litespeed installed and activated, let’s look at some more advanced configurations that can help with page load times, and page scores.
Log into WordPress
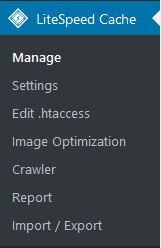
Hover over the LiteSpeed link in the left hand admin menu
Click the Settings link

Ensure you can see all options by clicking the Show Advanced Options button in the top right area of your screen.
![]()
Click the Tuning tab.
![]()
Scroll down and set the Remove Query Strings toggle to ON

Click the Optimize tab.
![]()
Please note that enabling the following options can break your site in the sense that it won’t look visually correct. Don’t worry this can very quickly be reverted by simply changing these options back to off. We recommend you turn each one on in turn and then test your site. If your sites looks as it should enable the next option and so on.
Toggle all the CSS options to On

Toggle all the JS options to On

Enable HTML Minify

Scroll to the bottom of the page and click the Save button

Click the Manage link under the LiteSpeed Cache group on the left hand admin menu
Click the Purge All link

Test your website
If you notice that anything doesn’t look visually correct, toggle the options enabled in step 7 to off one by one until the site works again.
Did you know…
At Clook, one of our specialisms is providing WordPress hosting, if you’d like to find out more, please get in touch with us.


